Sunday, May 27, 2012

How To Draw Medusa Face With Snakes Worksheet

How to draw Medusa, the woman with snake hair, worksheet.


This free printable drawing worksheet, How To Draw Medusa, may be downloaded to your device and printed easily. Medusa is a fun villain to draw, and not hard; if you make a mistake with the face it will make the monster nature of it look even better.

Just highlight and send it to your printer or save for later.


How To Draw Medusa Worksheet 

Printable lesson notes.


Start with the face and save the snakes for later after you have the face looking good then the picture will be about Medusa and not just a bunch of snakes.

The face starts out like an egg with the pointy end down for the chin. Use guidelines to keep everything even. One guideline straight up and down dividing the face in right and left halves. The eyes are halfway down so draw a light line to keep them even. The nose is about half way from the eyes to the chin, draw a faint line to mark it off keep it straight. The mouth is halfway from the nose to the chin; draw a guideline to keep that straight. The ears are on the same lines as the nose and the eyes.

Add the details of the face starting with the eyes. Keep your focus on the guidelines you drew before. The tops of the eyes are arches and the bottoms are straight across. Draw the circle of the iris even though the lids cover part of them if you draw the whole circle it works out better. This portrait has snake eyes so I put in slits for pupils.

The nose starts out shaped like a letter "U" right in the center, draw parenthesis "( )"on each side of the nose to give the nostrils effect then connect the bottom of the "U" to the parenthesis giving it a slight curve up on each side.

The mouth starts out like a flat "M" and a wide curve underneath. Keep them in the guidelines the outside of the mouth should be no wider than the pupils of the eyes.

Add some wrinkles around the eyes cheeks and mouth to give her the hag look. The eyebrows are optional, if you want to make her more monstrous leave the eyebrows off, draw them lightly and decide if you like them or if you want to make her look more snake-like without the eyebrows.

Erase the guidelines.

Draw the neck starting at the ears and going down and slightly out. The bottom of the ears are at the same level as the nose.

To do the snakes start with scribbling swirls going randomly all over the head.  Keep them light so you can erase the extra lines. Go over the scribbling swirls to form the snakes twisting all over the head. The heads of the snakes slope down to the jaw and the jaw is flat. I keep the eyes simple and don't add too many forked tongues. One or two should have their mouths open and fangs dripping venom.
I used fine-tipped markers to draw the examples. The color illustration was drawn in fine tip marker and then colored with Prismacolor pencils.


Illustration from How to Draw Medusa lesson
Illustration How to Draw Medusa
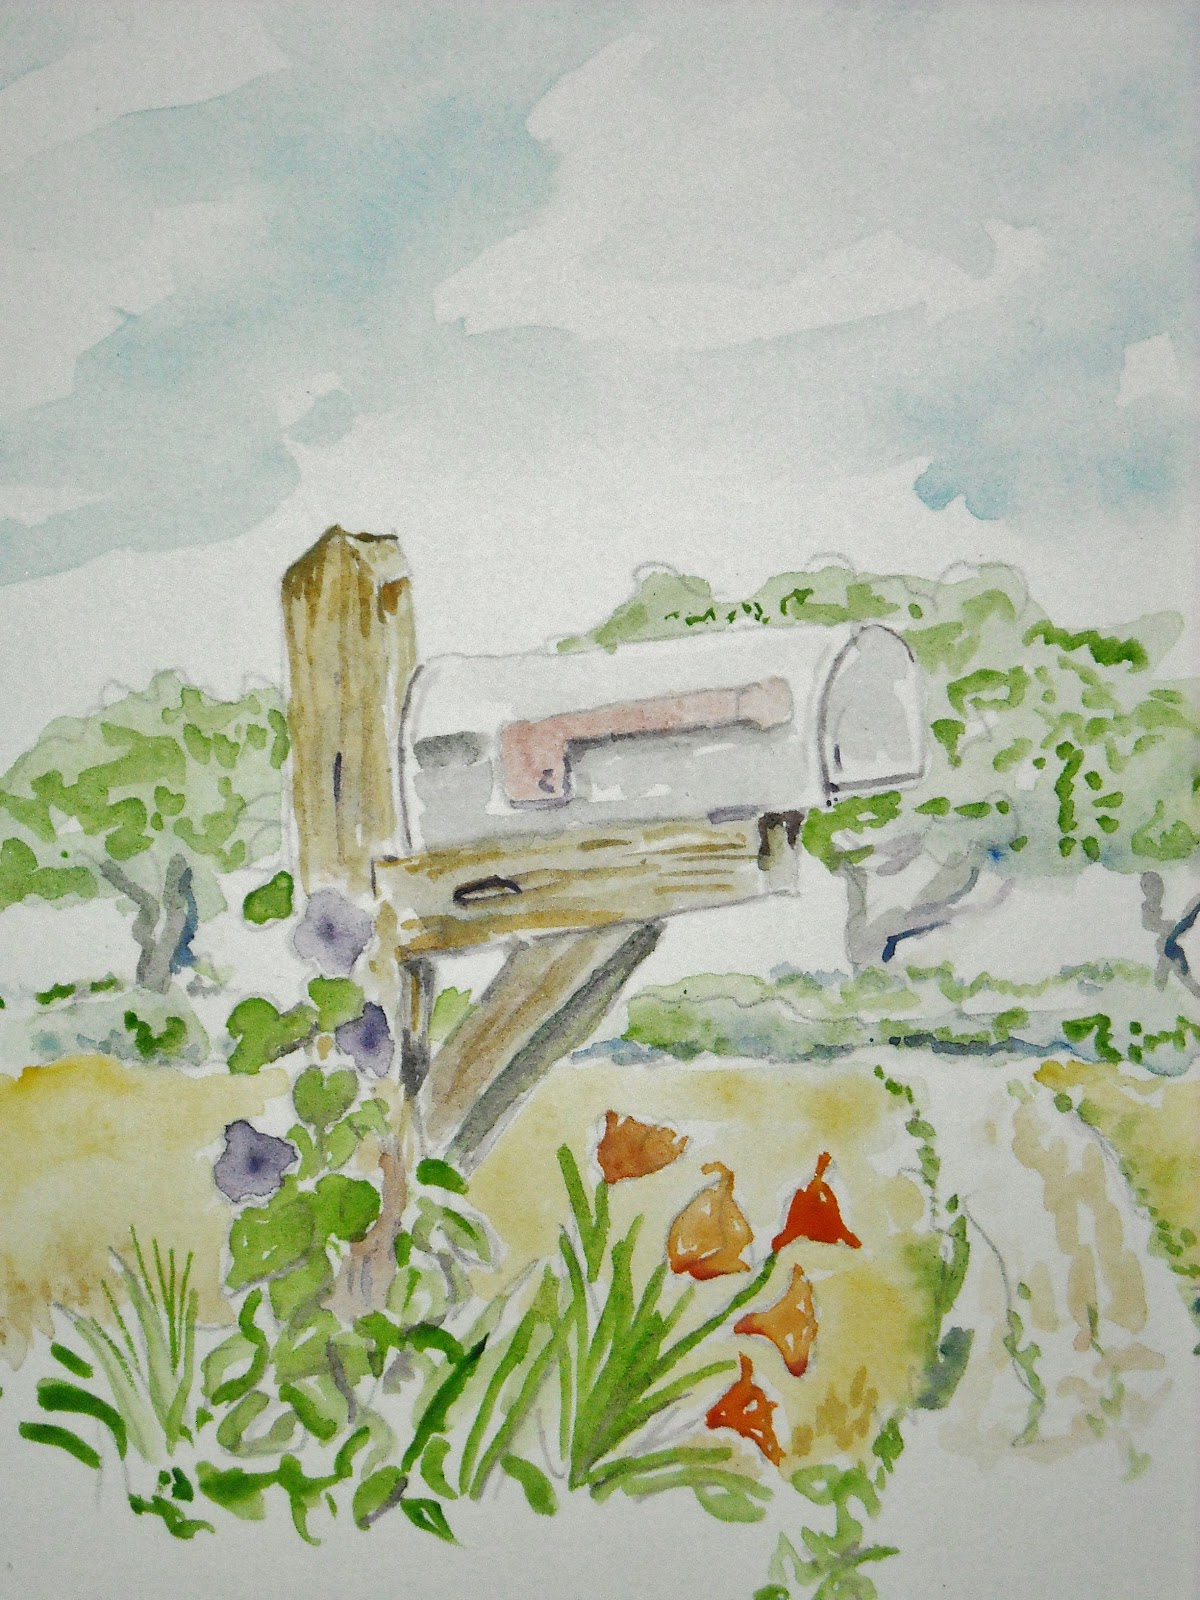
(c) Adron

Wednesday, May 23, 2012

How To Draw A Clown fish lesson

How To Draw A ClownFish 


Clownfish are easy to draw. The fish's shape is like any other fish, it's the markings that make the clown fish beautiful. The color orange is bright when it is on a blue background like the ocean.

 Draw a Clown Fish
Worksheet.
This how-to-draw worksheet may be used in classrooms or at home. Parents, teachers, and homeschool families are welcome to use it. I designed it for my own art students to use. It can be used as a stand-alone lesson or given out as an extra time activity or sent home as a self-guided project.

SCROLL DOWN TO ACCESS THE FREE PDF.

FIRST, A WORD OF ENCOURAGEMENT:

Do not get discouraged if your drawing does not turn out perfect, no one is as hard on themselves as a person who truly has the gift of art your frustration shows you have the gift you just need to get your skill up to the same level as your gift. Draw every day and soon you will be making beautiful pictures. Come back and try some of the other projects I have many to choose from and I know you will find one you like.

A WORD ABOUT PRINTING

To print the picture below, just highlight it and send it to your printer or save to your device to print later. If you have problems printing see the how to print tab above for some suggestions. or try the link below to a PDF that may print better.

NOTE: set your printer for greyscale, so you get the different values.

How To Draw A Clownfish Worksheet

These worksheets are free to print but your gift will help keep this blog going.


Thank you!

Here is a link to the PDF

CLICK HERE for a file in PDF.

Clownfish are easy to draw. The fish shape is like any other fish, it's the markings that make the clown fish beautiful. The color of orange is bright when it is in a blue background like the ocean. 

BASIC SHAPE
The back is a curved arch like a rainbow. The tail starts out like the letter"C," that gets connected to the body. The bottom line curves up from the tail and curves down to make the belly, ten slopes up to the jaw. 

FINS
The top has two thin long fins. The belly has two rounded fins. There is a side fin it starts like a "C" and has two lines going forward like a triangle.

STRIPES
There are three white stripes they have thick black edges. One stripe is like a collar around the head. There is one like a belt with a point going forward in the middle.  There is one at the base of the tail.

DETAILS
The fins have black edges, and lines that are the hair-thin bones. 

The eye is a little bulge so make a slight shadow around it. Leave a little white spot in the eye. 

COLOR
Color the fish light orange and use a darker orange for the shadows underneath. Leave the stripes white but put the black edges in the fins. 
Illustration for how to draw a clown fish 

(c) Adron


Thank you for visiting my blog.  I hope this project is fun and helpful for you.  To find more like it see the labels at the right or choose one of the favorites in the left sidebar.  I am sure you will find one you like.

Adron

Saturday, May 12, 2012

How To Draw A Garden Lamp Post

How to Draw a  Lamppost

How to draw a garden lamp is a fun art lesson.

This printable drawing worksheet and art lesson is an easy and fun project that the young artist will be quick to master. It is easy to draw a garden scene and an old-style lamp on a post makes it interesting.


The worksheet below may be printed by highlighting it and sending it to your printer or saving to your device to print later. Some printers work better if you drag the image to your desktop and print from there. If you have problems printing see the how to print tab for some helpful tips. Below the image are links to alternate formats of this image in case this one won't work


Printable How To Draw A Garden Lamppost Worksheet


Sometimes it takes me hours but I create these how to draw worksheets but I do it so that I can give back because I believe that when you have been given a gift it is so you can be a gift to others, and I hope these worksheets are a means of blessing to you. You are welcome to print as many as you like.


Thank you!

Below is a PDF file that may print better on some devices

Some printers work better with a PDF formatted image. CLICK HERE to go to a PDF file.

PRINTABLE PROJECT NOTES


Start by outlining the lamp post lightly in the center of the page or to make it interesting off to the side. The lamp post is just two lines going up and down. The top of the lamp post has the lamp and it is shaped like a diamond.

Add windows and frames for the windows. Add some details like a ball on the top and a little cuff between the lamppost and the lamp. Remember to make it look round by using a shadow that goes from light to dark.

The flowers start as a lot of large circles draw them lightly so you can erase them later. Make a dot in the center of each circle. Starting at the dot draw skinny diamond shapes for the petals of the flowers. Make lots of leaves shaped like spades or hearts.

The bricks start out as three curved lines that go all the way around for the planter. Divide the lines by drawing up and down lines to make individual bricks. Use an alternating pattern for interest. Draw a line for the top of the bricks but do it lightly so you can have some flowers and leaves going over them. Draw grass to cover the bottom. Add a few chips and dots for roughness.

For background, I put in a wall with the same brick pattern but I used bigger shapes.  Make these lighter and use less detail.  Behind the wall, I have a row of trees. I made these with even less detail by just using a few scribbled lines, and shadows.

If you like my example you can put in the path. The grass outlines the path.  I used irregular oval shapes for the stepping stones. Make the path curve, A curved path is more interesting and brings the eye into the picture.
How to draw a garden lamp post


(c) Adron D 5/12/12

Become a Patron!

Tuesday, May 8, 2012

How to Draw a Mailbox Easy Worksheet

How to draw a rural mailbox art lesson.


This free drawing worksheet, How To Draw A Rural Mailbox, may be downloaded to your device and printed easily.

If you have trouble making it print or are printing on A-4 sized paper then, CLICK HERE to visit my how-to-print page for some suggestions.


How to Draw a Rural Mailbox Worksheet.

Sometimes it takes me hours but I create these how to draw worksheets but I do it so that I can give back because I believe that when you have been given a gift it is so you can be a gift to others, and I hope these worksheets are a means of blessing to you. You are welcome to print as many as you like.


Thank you!


You see these mailboxes on posts all over the countryside.  With a few flowers, they make an excellent addition to a picture or the focus of a picture.

PRINTABLE LESSON NOTES


You can use a ruler to get the lines straight, but if you don't, it is OK since they get weather-worn and are often not straight.

I start with the post. Use three parallel lines for the up and down post. Two lines make the horizontal arm or shelf the mailbox sits on and three parallel lines at an angle for the supporting brace.

The wood has "grain," so draw some rough lines back and forth going the way of the pieces of wood.

The top is pointed in mine, but you can make yours flat. The mailbox is just a horizontal line and an arch at the end.

Don't forget the little flag.

The flowers on the post are circles with dark centers, and the leaves are drawn like hearts and spades. The grass is long up close, and the grass far away is short. The lilies under the mailbox are like cones on thin stalks.

The road is wide at the bottom and gets narrow far away.

I draw the background lightly, so it looks far away. There is a row of bushes and behind that a row of trees.

Watercolor illustration for how to draw a mailbox.

(c) Adron 5/8/12

My how-to draw worksheets are free, and you may print as many as you like. I only ask that you consider making a small contribution to support my art if you are able to. Please click HERE and enter an amount that shows your level of appreciation. Thank you. 

Sunday, May 6, 2012

How to Draw a Shark Easy Worksheet.

How to Draw a Shark Worksheet.

This is a free drawing worksheet for How To Draw A Shark.

It may be downloaded to your device and printed easily. Sharks are easy to draw. You only need to draw two lines and a few triangles.

To print the worksheet below just highlight it and send it to your printer or save to your device to print later. If you have problems see the HOW TO PRINT tab above or try one of the updated links below.

YOU CAN HELP


How to draw a shark worksheet updated. 

Sometimes it takes me hours but I create these how to draw worksheets but I do it so that I can give back because I believe that when you have been given a gift it is so you can be a gift to others, and I hope these worksheets are a means of blessing to you.


Thank you!

CLICK HERE for a file in a portable universal format.

Use a light pencil to start with to make an outline. You will go over it later with a darker drawing pencil or colors.

The first line is a line for the bottom it is almost straight but curves down a little at the chest and then up slightly at the front. The second line is curved for the back. The curve is highest over the shoulder and long going down to the tail.

The fins are all triangles at first then you need to make them rounded. The dorsal fin is the one on to the top and is near the center. There are many kinds of sharks and they have the dorsal fin in different places some are more forward and some more back. After you have it outlined it then give the back of the fin a slight double curve like a letter "S".

The tail is two skinny triangles one long on the top and one short on the bottom. The top one has a slight bend forward at the top and the bottom one has a slight bend backward.

The longest fin is the forward fin it is a skinny triangle the front has a slight roundness toward the back.

There is a little fin underneath by the tail and another small fin at the bottom over halfway back.
The eye is catlike but black, there is a shiny spot from the clear membrane over the eye. There is a white ring around the eye.

The gills are five curved lines where he should have an ear.

Sharks have a nostril in its nose, it is like a dot with a skinny "C" shape going down.

Color your shark grey or blue. They are dark on top and white underneath, but there are many kinds of shark and some have different colors.

(c) Adron D. 5/6/12

Saturday, May 5, 2012

How to Draw a Willow Tree.

How To Draw a Willow Tree

How to draw a willow tree printable art lesson worksheet.

This free printable drawing worksheet, How To Draw A Willow Tree, may be downloaded to your device and printed easily. Willow trees are fun to draw and add an interesting feature to any landscape.

To print the worksheet below just highlight it and send it to your printer or save to your device to print later. Some printers work better if you drag this image to the desktop and print from there. If you have problems see the how to print tab above or try the links below that have the worksheet in different formats.


Printing tip. Set your printer for greyscale and not black and white so you get all the detail.

How to draw a willow tree worksheet.


Some printers work better with a PDF file. For a PDF file, CLICK HERE.

BEGINNINGS
I always start an outdoor picture with an idea of where the horizon (where the sky meets the earth) is. I never recommend that the horizon to be in the middle of the picture because that is boring, but here I sort of did make it that way, it only works because it is very jagged like the trees and the forest in the background.

TRUNK
The trunks of willow trees are twisted and not straight, so start the willow with a wiggly trunk and put in some angled lines for the twisted look.

BRANCHES
In my drawing, I wanted to show some branches, so I did the branches before I did the long hanging leaves. The willow tree has branches that just go out away from the trunk so draw them outward and then up.

OUTLINE SHAPE
Lightly draw some circles to be an outline for the shape of the tree's top. Make it interesting and not just an umbrella or mushroom shape.

HANGING LEAVES
The hanging leaves all come to a stop at a straight line at the bottom so draw a line to keep you from drawing the leaves too low. The hanging leaves on the back side of the tree are more of shading than drawing. Shade downward and fill in the areas behind the branches so they stand out. Then draw the leaves in the front of the branches sketching down and outward. Use a pattern like an upside-down "Y."

DARKER AREAS
You might need to change to a lighter and harder pencil for the leaves on the sunny side of the tree and use darker softer pencils for the leaves on the shady side of the tree. If you have overdrawn the leaves and made the tree too dark use and eraser to lift out some lighter areas. Make the grass in clumps under the tree.

BACKGROUND
Willows grow near water so I put a creek next to mine but you might want yours to be by a lake or waterfall.

Draw the background lightly since it is far away, add some interest to the background with a dark row of bushes and a lighter row of trees.

How To Draw Willow Illustration

© Mr Adron D 5/5/13

Thursday, May 3, 2012

How To Draw An Elephant. Easy Worksheet

This free drawing worksheet, How To Draw An Elephant, is an easy drawing lesson. It only takes a few basic shapes and a little practice to draw a beautiful elephant.

How to draw an elephant worksheet.
Start with the large rectangle of the body. Add to that a circle for the head. (We come back to the head later).
The legs are rectangles going in different directions downward. The knees are low and so bend the rectangle for the bottom of the leg low.

The ear is a large triangle kind of sideways.

After you have a good outline start to round it out. Round up slightly at the shoulder. Round up slightly at the hip and the back of the hip where the tail is.  Round down the belly. Round out the bend in the legs. round off the ear.

The toes look like the letter "m."

The ear has rough edges.

The eye is small and is low on the head and toward the back.

Save the fun stuff for last so when you have the body looking good draw the tusk and the trunk.

Elephants have very wrinkly skin. Draw wrinkles across the trunk and legs, with some twisty wrinkles at the knees but keep them light, they are only a detail not a focus.

Shadow the legs on the other side, and shadow around the ear and belly.

How To Draw An Elephant pencil example
(c) Adron

My how to draw worksheets are free. I only ask that if you are able that you click on the DONATE tab and learn how you can support my blog. Thank you.